Sunday, January 18, 2015

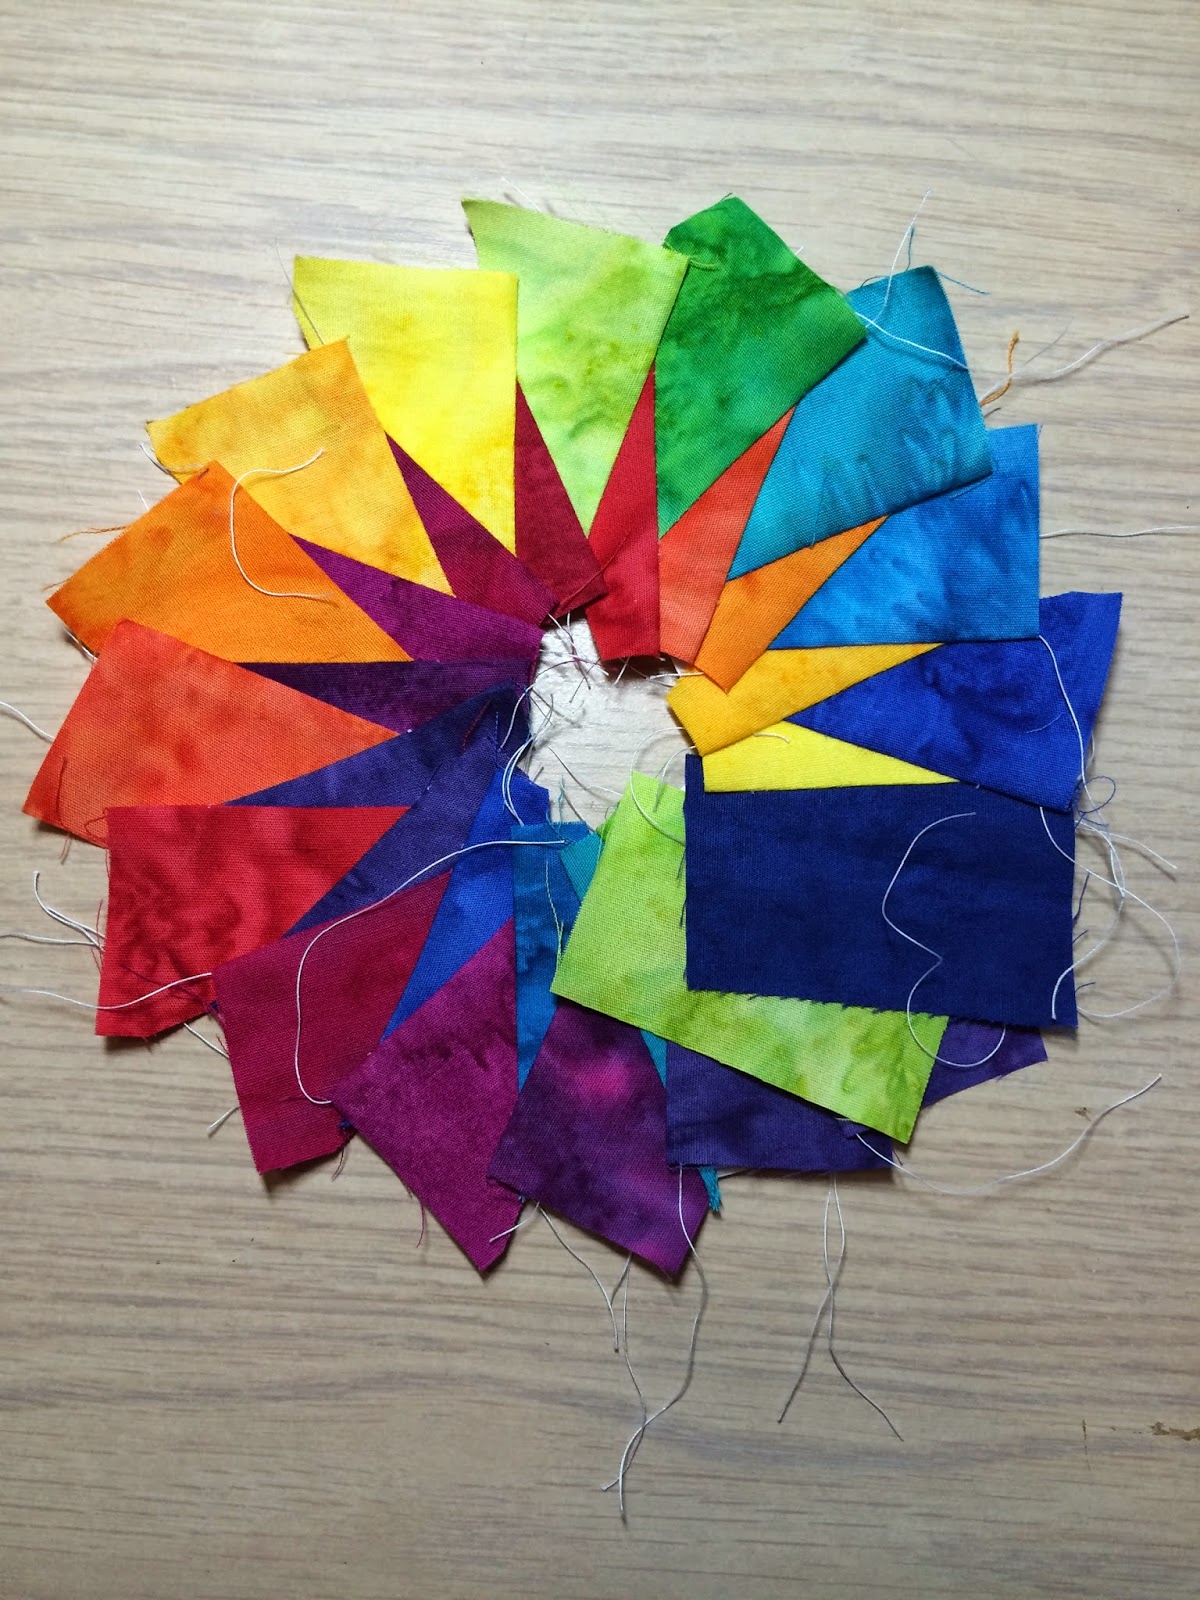
Aurora Step #3

I think this is the best that I can do with this particular step. I can see wrinkles, but it lies fairly flat. I think I have to learn to live with it. When I made Happiness, I wasn't too hard on myself. I kept telling myself it was my first time & not to be too self-critical. And as a result I enjoyed the process. I think that my success with Happiness has caused me to have unreasonable expectations of myself for Aurora (& I'm only at Step 3 & my expectations are already too high! Yikes!!!). Oh well. 

I have to wait to move on to Step #4. Would you believe that I misplaced one of the template pages??? I can't not find it anywhere. So, I had to order the complete pattern again. This misplace net cost me $47.00. :(

Hopefully once the second pattern arrives I'll have more success with Step #4, etc! 

Saturday, January 17, 2015

Whimsical Garden Photos

Not too much progress was made on Aurora this week. I got the centre appliquéd onto the star. It went well. That was Step #2. Then I attempted to sew the outer white ring to those two pieces (step #3). That did not go well. I took it off & will have to redo it. Sewing that piece on went so well with Happiness that I was pretty surprised I had so much difficulty this time. As soon as I find the time & work up the courage, I'll try it again!


I'll take the opportunity, though, to show my version of Whimsical Garden by Piece O' Cake designs.

I started it during the May long weekend this past year & finished it up in September. I'm pleased with it. My favourite part is actually a result of a mistake.

Because I was appliqueing the pieces, I had initially cut each background block larger than necessary in order to cut down to size & square up once the appliqué was finished. I had made the block shown as per the instructions. I wasn't over-the-moon with it but I didn't hate it, either.

The problems was that I was watching TV while cutting the finished blocks down to 101/2". Bad, bad    quilter. I cut it 1/4" too short! I had to remake the block.

I had seen that Lisa Bonegan had put the year in one of her blocks. I liked it, so I decided to do something similar to that with the redo block. I added my initial & the year onto the flower. It turned out to be most favourite block on the top! I absolutely love it!!!


Thursday, January 15, 2015

Double Wedding Ring

One of the items on my (quilting bucket list) was a Double Wedding Ring. To me, it is one of those "rites of passage" quilt patterns.

So, in late 2014 I bought the Judy Niemeyer templates and began.

The templates were fine, but I found the instructions lacking for someone like me who had never made one before. Luckily my partner's mother has made several DWRs and had the Marti Michelle instructions. Marti's instructions were fantastic. She explains what to do (including what piece to place on top when sewing which is critically important when dealing with curved pieces) and she explains why you do it in that way. Her instructions were easy to follow.

This was my first foray into curved piecing and was ambitious. I was intimidated. But, I had a riot making it! I enjoyed it tremendously and would have continued on and made more circles to increase the size had I not run out of fabric. You know it's a good sign when you want to continue on (and a bad sign when you don't). the project stretched my skills without stressing me out. Nice when it work that way.

This was fun and was excellent practice for working with the curves in the "Happiness" pattern as well as with "Aurora". I feel very competent in working with curves now.

I should have ironed it before taking the photos, but oh well. Here it is. I love it and am proud of how it looks. Not too bad for a person who never sewed a single curved seam before!


Melanie


Tuesday, January 13, 2015

Steps #1 and Almost #2 of Aurora

Hi There,

I did not have too much time for sewing this week, but did manage to complete steps #1 and almost #2 of Aurora. Also got the piece cut out for step #3. Life is getting busy, so I will have to learn to be content with small, baby steps towards completion.

The first photo is of step #1 and is of the star that will sit in the center of the quilt. You can see the transformation that occurs when you trim it to a 1/4" seam allowance. From somewhat of a duckling into a beautiful swan. The star was similar in construction to the Happiness quilt, so it went together fairly easily.

Step #2 is to applique the white round circle center onto the star. As per the instructions, I traced the template onto freezer paper. I went a little further and did 3 ply of freezer papers for added stiffness. I then ironed the freezer paper onto the wrong side of the fabric and used a small applique iron and Best Press to turn the edges under. I am satisfied with the results.

As this piece needs to be appliqued on, I was originally going to pin it on and sew. But I had seen a Judy Niemeyer Youtube (http://www.quiltworx.com/techniques/creative-grids-wedding-ring-template/) video where she glued pieces together rather than pinned them. I thought I would give it a try and used the glue you can see in the third photo. I used it very sparingly to avoid it coming through the fabric. I haven't appliqued the piece on, but it seems to be glued down pretty well. Fingers crossed that the appliqueing process will go smoothly. 

Once I get the center appliqued I can move on to step #3 which is sewing the white circle that will surround pieces 1 & 2.

Wish me luck!


Melanie

Thursday, January 8, 2015

New Year - Blog Revitalization!

 I love, love reading quilt blogs! I read them every. single. day. Just can’t get enough of them. So, it was high time to get mine rebooted! It’ll be nice for me to have a diary of my quilting journey again.

And what better way to kick off a rebooted blog than with a finish?

The images below are of my first finish of 2015. The pattern is “Happiness” by Jacqueline de Jonge (http://www.becolourful.com/) of Be Colourful quilts. I am absolutely over the moon with this one (although my family tells me I say that EVERY TIME I finish a quilt)! The fabric is mostly from my stash and the colours are much more vibrant than they appear in the photos. The assembly went like a dream, but there is a bit of a back story…

I have been an admirer of Jacqueline’s patterns for years and finally worked up the courage to order the Aurora kit in early spring of 2014. When it arrived I was delighted with the fabric in the kit, but I was completely lost in terms of understanding the pattern instructions. This was due to three important factors: 1) my complete lack of experience with curved piecing, 2) my lack of experience with paper-piecing, and 3) my inability to understand/visualize the instructions. I was completely lost and totally out of my depth.

And so the kit sat and sat and my guilt at spending the money on it grew and grew.

Then, one day I was perusing quilting blogs and Jacqueline’s came up (http://becolourfulquilts.blogspot.ca/). Lo and behold, I quickly discovered that she had made an introductory DVD and pattern for people just like me!

I promptly ordered the DVD and IT. WAS. AWESOME! She explained and demonstrated everything so well that the moment I finished watching it I ordered the accompanying pattern, “Happiness”.

As a result of the DVD someone with extremely limited paper piecing and curved piecing experience was able to assemble this beauty in just a few days time. It looks amazing AND I had a great time doing it. She even explains how to do mitered corners which I had never done before doing them on “Happiness”.

If you are wanting to make one of Jacqueline’s quilts but are, like I was, as confused and as intimidated, I would highly recommend ordering the DVD. It was well worth it. So worth it in fact that I am going to begin the Aurora kit next! I have moved from intimidated and confused about it to excited!


My 2 Quilting Resolutions for 2015 were:

1) Re-start my blog, CHECK
2) Finish Aurora.

Wish me luck with #2!

All the best,
Melanie 


Ps: The white circle looks wonky in this photo which is disappointing because in real life it looks perfect.

Tuesday, November 22, 2011

Mirror Image Done

I should mention that the design is by Kellie Wulfsohn of Don't Look Now. It is titled Oh Christmas Tree.


Kellie is the designer of Meg's Garden (my version) AND White Christmas (my version here).